Contouring For Beginners: A Step-By-Step Guide

Contouring is a makeup technique that enhances and defines facial features, creating the illusion of a more sculpted and chiseled look. While it may seem intimidating to beginners, contouring is actually relatively easy with the proper tools and techniques.
Here is a beginner's step-by-step guide to help you get started.
Step 1: Prepare Your Skin
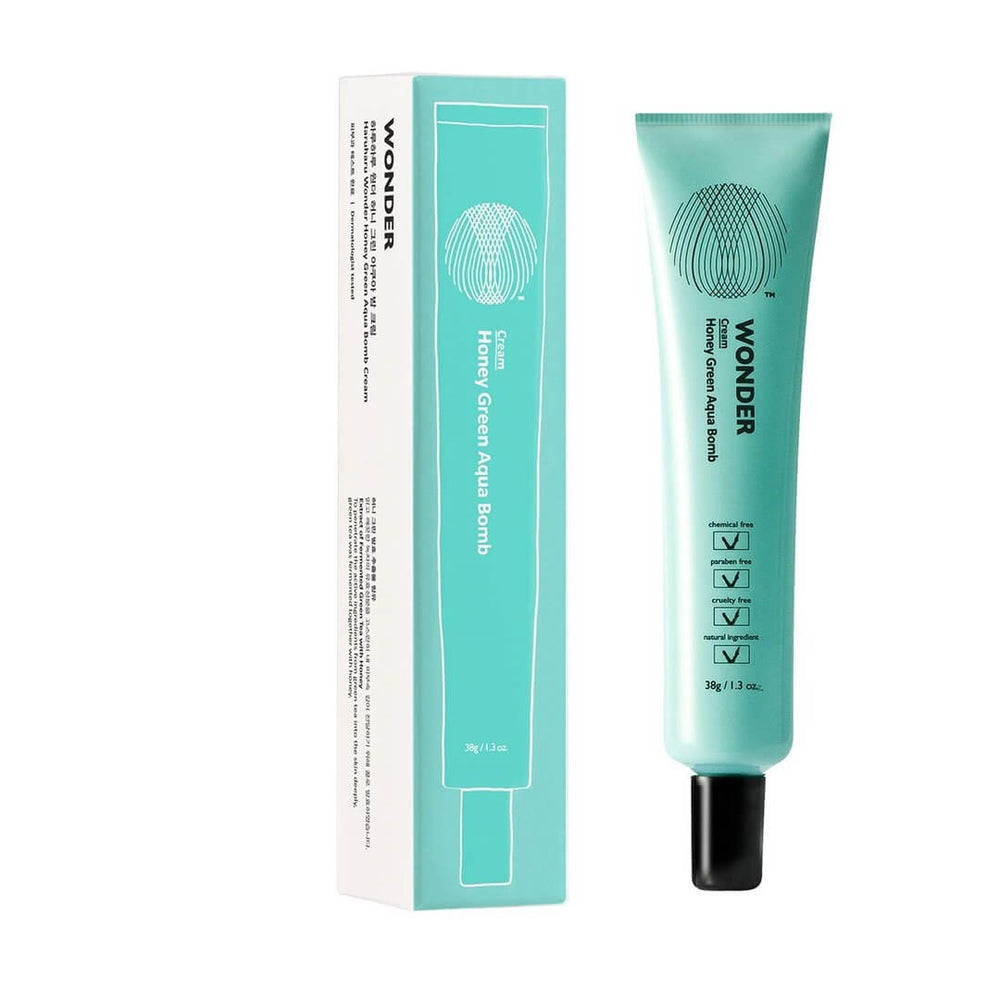
Before contouring, it's essential to have a clean and moisturised face. Use a light moisturiser such as HARUHARU WONDER Honey Green Aqua Bomb Cream to hydrate your skin and create a smooth base for your makeup.

If you have any redness or blemishes, use a concealer to cover them up. An excellent Korean concealer is CLIO Kill Cover Liquid Concealer, available in four colours. It's an ultra-high coverage concealer that provides a light and smooth texture on your skin.

Step 2: Choose Your Contour Products
You can use several products for contouring, including creams, powders, and sticks. Use a contour product that matches your skin tone or one shade lighter or darker. For a natural look, opt for a matte finish. If you have oily skin, a powder is recommended. If you have dry skin, a cream is the best choice.
Our favourite contour product is PERIPERA Ink V Shading, which comes in three colours: Almond Brown, Cacao Brown, and Hazel Grey.
This K-beauty cosmetic kit contours the face and enhances skin tone with micro powder. It glides smoothly over the skin, leaving no reddish or yellowish tones.
PERIPERA Ink V Shading gives your face a three-dimensional effect for a flawless look.

Another excellent option is TOO COOL FOR SCHOOL Art Class by Rodin Shading. This contour kit sculpts your face to perfection. It's perfect for people with paler to medium skin tones.

Step 3: Apply Contour
Start by using a brush or sponge to apply your contour product in the areas you want to define. These areas are typically the hollows of your cheeks, the sides of your nose, the jawline, and the temples. Blend the product well to create a natural-looking shadow.
According to Korean makeup artists, you should also contour and define your collarbones and abdominal area.
Remember to add shadow to the hairline and create a high nose bridge and V line.
Step 4: Highlight
After you've applied your contour, it's time to highlight. Use a highlighting one or two shades lighter than your skin and put it on the areas you want to bring forward, such as your cheekbones, the centre of your forehead, and your cupid's bow. Make sure to highlight the deep set of your eyes to make them stand out.
Blend the highlight well to create a subtle glow.
Step 5: Blend, Blend, Blend
The key to a natural-looking contour is blending. Use a fluffy brush to blend the contour and highlight together, ensuring no harsh lines. Blend until you have a seamless look.
Here are some tips to help you blend effectively:
- Use the right brushes: A denser brush works well for contouring, while a fluffy brush is best for highlighting.
- Blend in circular motions: When blending your contour, use circular motions to diffuse the product and create a natural-looking shadow. For highlighting, use upward strokes to lift and brighten the skin.
- Start with a light touch and build up the intensity as needed.
- Blend towards the centre of your face to avoid creating visible lines. 5. Use a clean brush to avoid muddying the colors and losing the definition.
Step 6: Set Your Makeup
Finally, set your makeup with a translucent powder to ensure it lasts all day. It prevents your makeup products from smudging, fading, or creasing throughout the day while controlling shine and reducing the appearance of oiliness.
SKINFOOD Peach Cotton Multi Finish Powder is the perfect K-beauty product for setting your makeup to achieve flawless, airbrushed skin. This powder contains peach and sake extracts, so it's suitable for sensitive, oily, and acne-prone skin.
The Peach Cotton Multi Finish Powder controls oil and sweat, leaving a matte appearance all day long.

With these simple steps, you'll achieve a perfectly contoured look in no time. Always start with a light hand and build up the intensity as needed. Feel free to experiment and find what works best for your skin type and facial structure.
Happy contouring!


